
Procedure map / Spine
Vertebroplasty
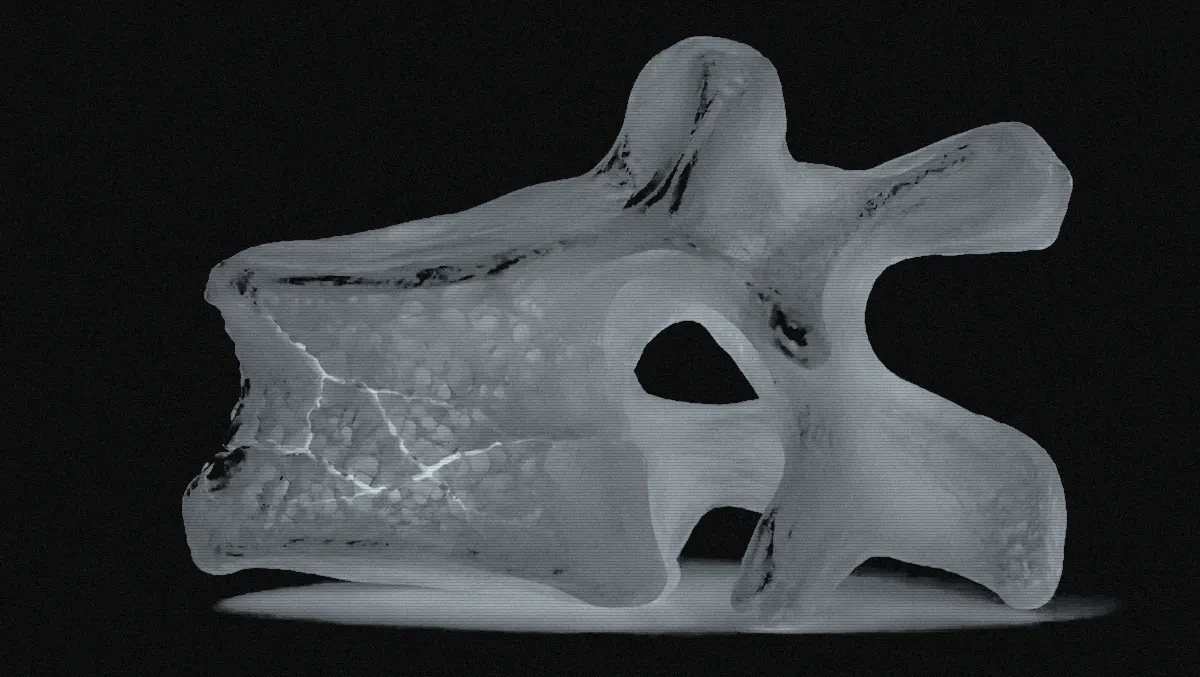
Bone cement is delivered under imaging into a fractured vertebral body to stabilise it and relieve pain.
Step by step
- 01
Preparation and imaging
The patient lies prone, usually under sedation and local anaesthesia. The fractured level is located on fluoroscopy in AP and lateral views.
Fluoroscopy: AP + lateral
- 02
Transpedicular access
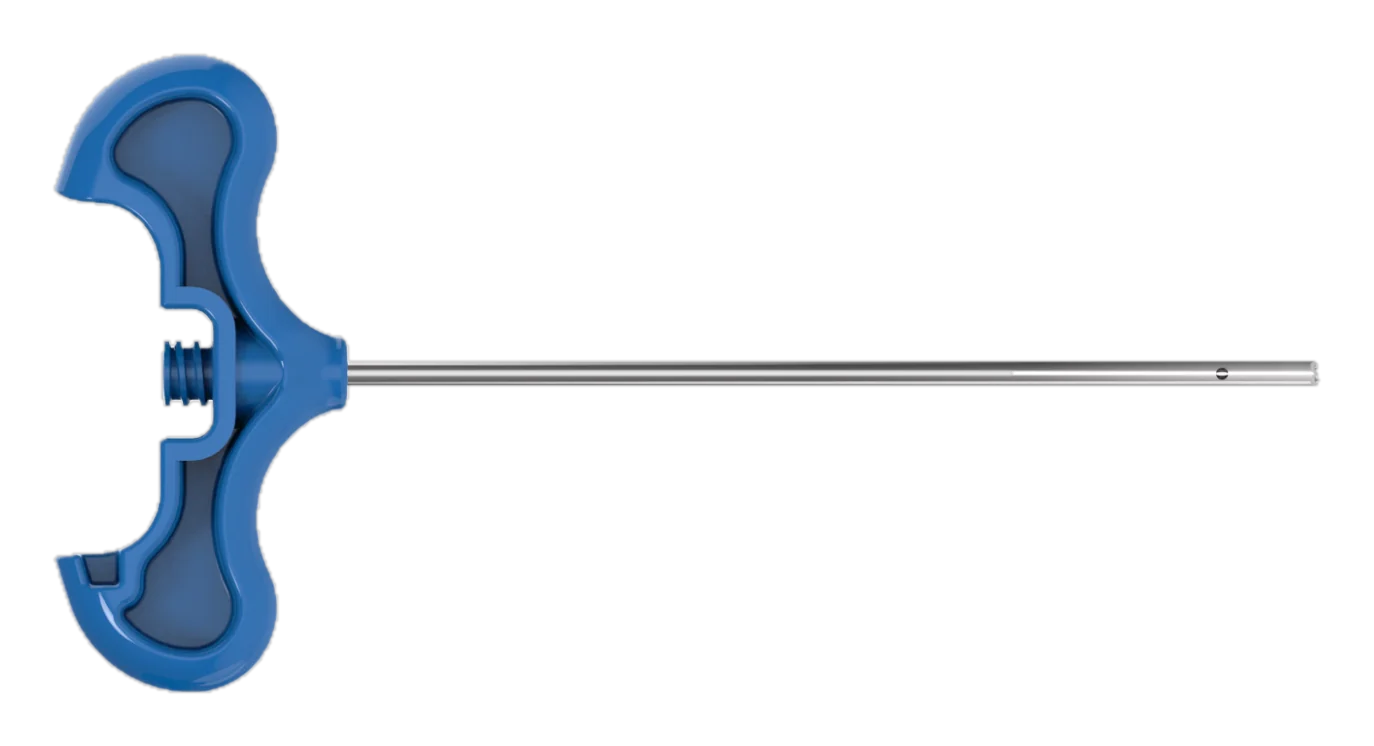
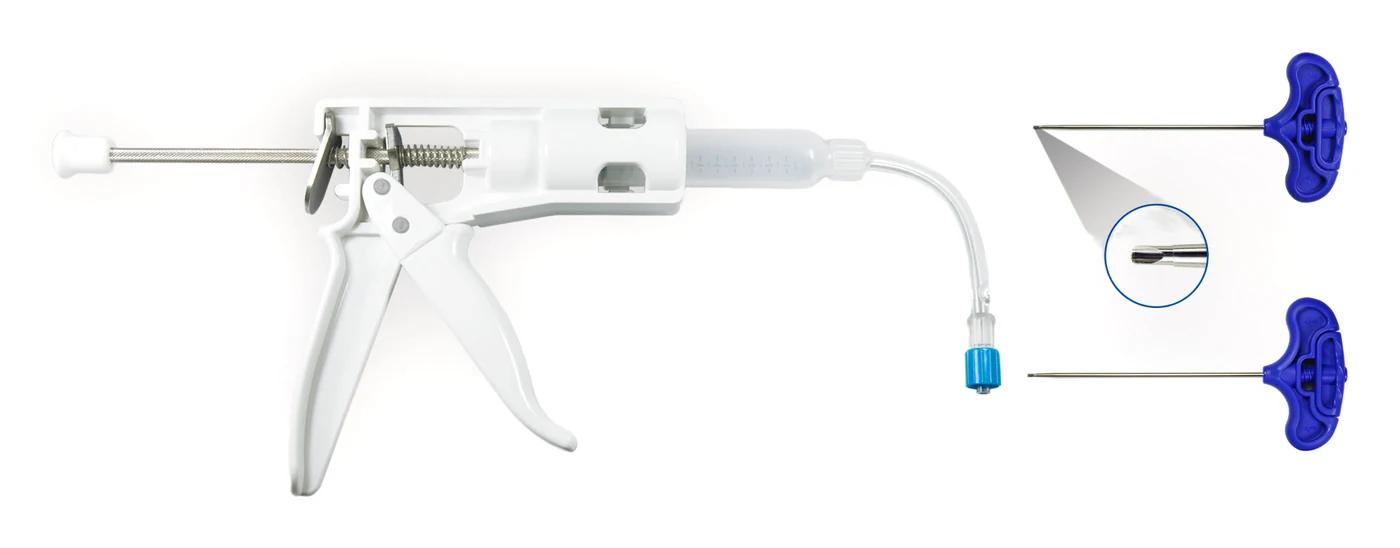
Through a small skin incision, the cannula is passed through the pedicle into the anterior-middle vertebral body. Both sides are used when needed.
Cannula Ø 2.3-3.0 mm or needle 11G / 13G
- 03
Cement preparation
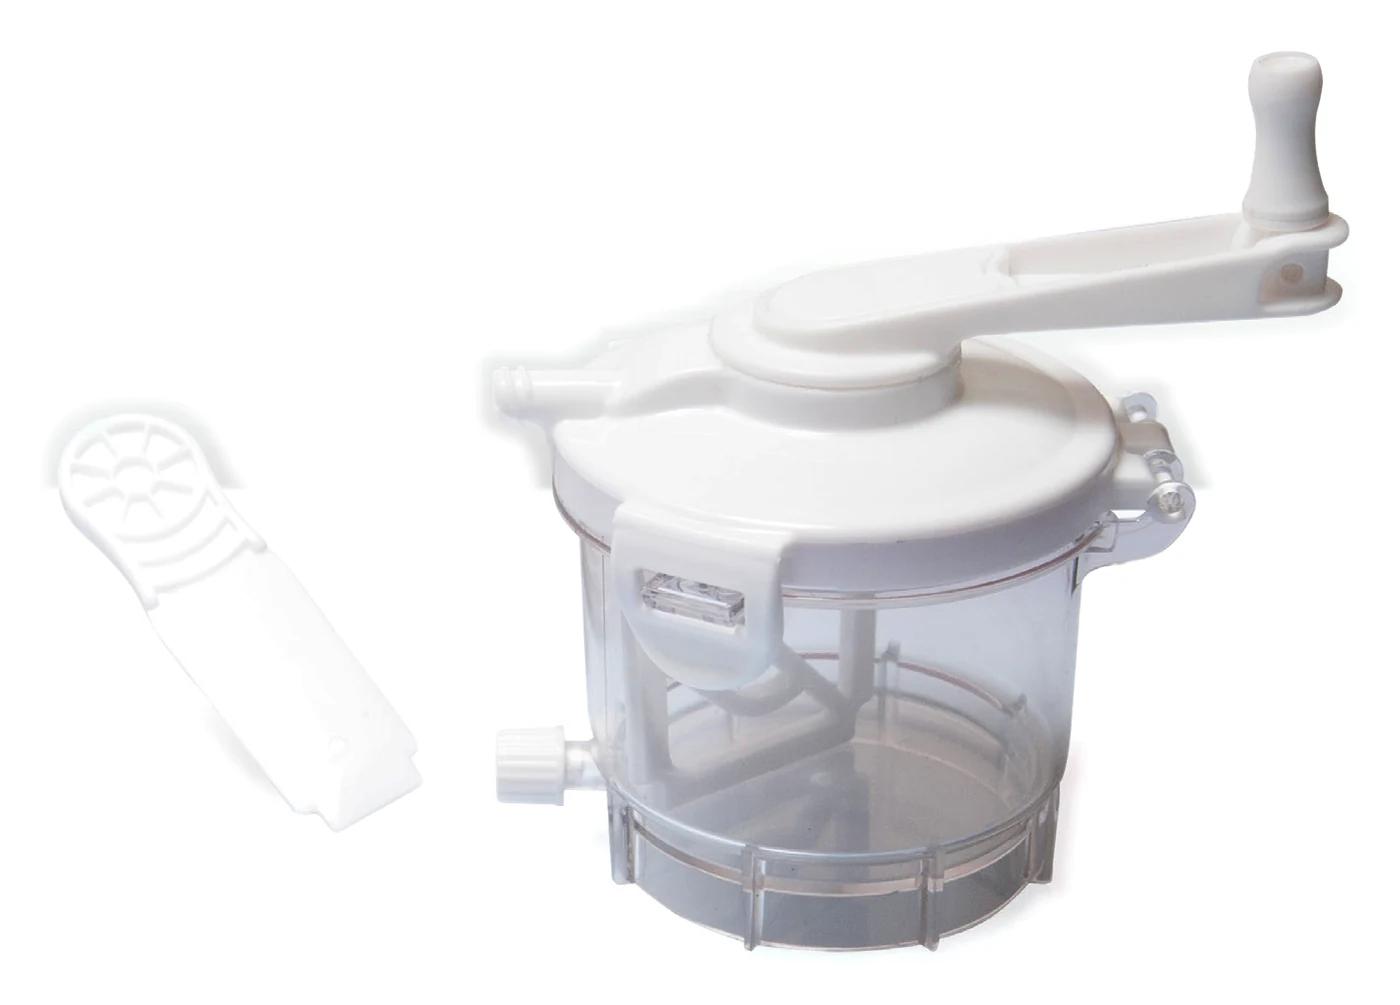
PMMA cement is mixed under vacuum. It is allowed to reach a toothpaste-like consistency before injection; runny cement raises the leakage risk.
Mixing 60 s, waiting 90 s (23°C)
- 04
Controlled injection
Cement is given slowly and incrementally under continuous lateral imaging. Injection stops if it approaches the posterior wall, a foramen or the veins.
MIXMAX cement working time 470 s (23°C)
- 05
Check and closure
Cement distribution is checked on imaging and the cannula is withdrawn. No sutures are needed; the procedure usually takes under an hour.
MIXMAX cement setting 110 s (23°C)
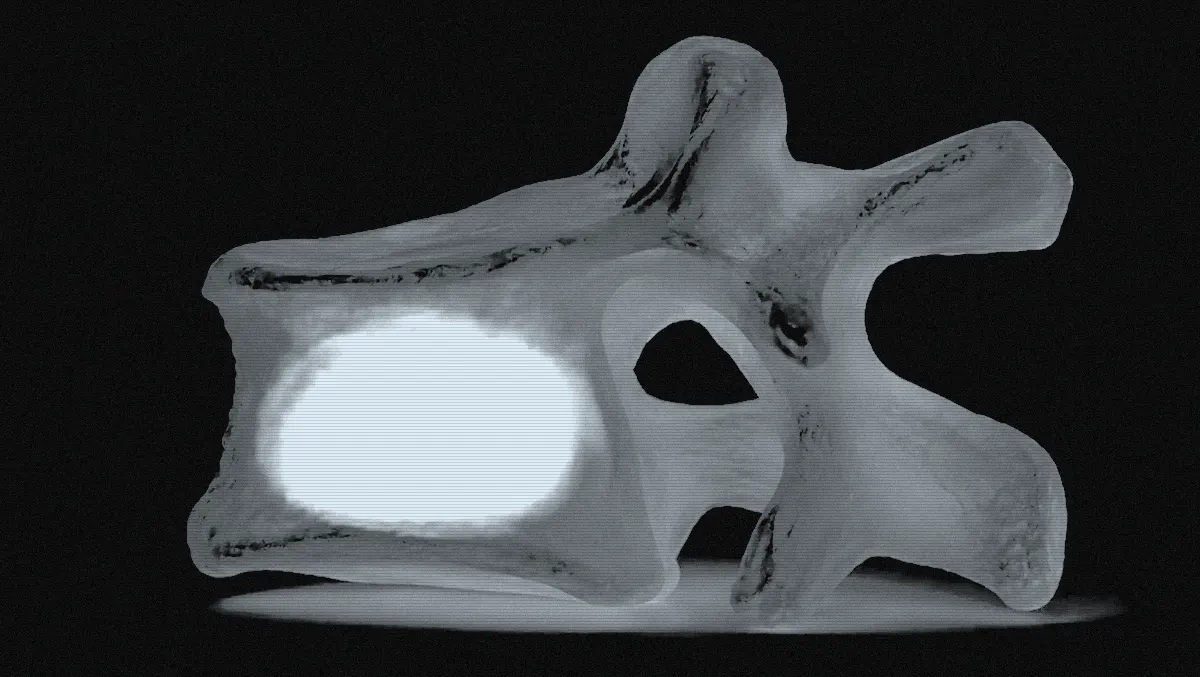
A general workflow is shown. Practice varies by physician and patient.
Products used in this procedure
- LIBRA BCD KITOne-handed trigger dispenser that delivers cement to the needle in measured doses.
- MIXMAXMixes PMMA bone cement under vacuum into a dense, bubble-free consistency.
- BLUEPECKER PLUSCannula and stylet system for delivering cement directly into the vertebral body, percutaneously.